If you’re running a WordPress website and struggling to bring visitors back, you’re not alone. Getting traffic is one thing—but retaining users is where real growth happens.
That’s exactly where web push notifications come in.
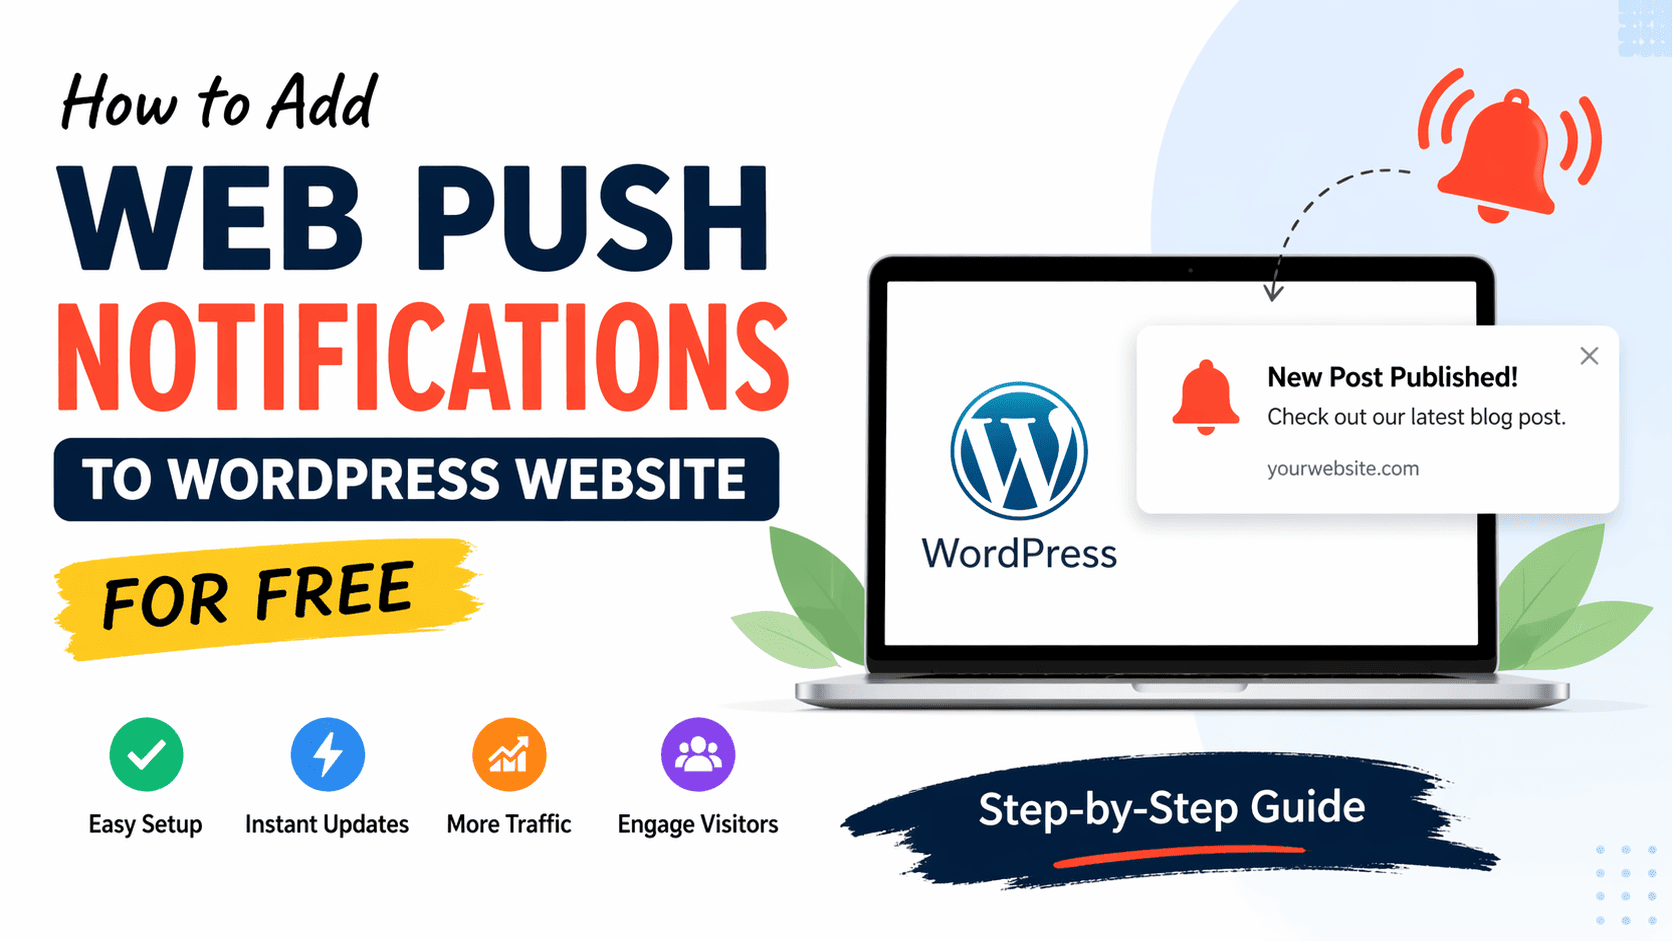
Instead of hoping users return, you can reach them instantly on their device—even when they’re not browsing your website.
In this guide, you’ll learn how to add web push notifications to your WordPress site for free, in a simple and practical way.
What Are Web Push Notifications (And Why They Matter)?
Web push notifications are small clickable alerts that appear on a user’s screen via their browser.
Once someone allows notifications, you can send:
- New blog post updates
- Breaking news
- Affiliate offers
- Important announcements
Think of it like building your own direct traffic channel—no SEO delay, no algorithm dependency.
Why Smart Bloggers Use Push Notifications
Let’s be real—organic traffic takes time.
Push notifications help you:
- Bring users back instantly
- Increase page views without extra effort
- Improve engagement rate
- Reduce dependency on Google traffic
If used correctly, they can become one of your highest converting traffic sources.
Best Free Way to Add Push Notifications in WordPress
There are many tools out there, but if you want something simple, lightweight, and beginner-friendly, you can use:
👉 Metapusher.com
It’s designed to work smoothly with WordPress and focuses on fast setup + clean delivery, without unnecessary complexity.
Step-by-Step: Add Web Push Notifications Using Metapusher
Step 1: Create Your Free Account
- Visit metapusher.com
- Sign up and log in
- Create a new project for your website
Step 2: Add Your Website Details
- Enter your website URL
- Set your site name
- Configure basic settings
You don’t need any technical knowledge here.
Step 3: Install Plugin in WordPress
- Go to your WordPress Dashboard
- Click: Plugins → Add New
- Search for Metapusher (if available)
(or use the integration code provided in dashboard) - Install and activate
Step 4: Connect Your Website
- Copy your App ID / API Key from Metapusher
- Paste it into plugin settings
- Save changes
Your website is now connected.
Step 5: Enable Auto Notifications
This is important 👇
Turn ON:
✔ Automatically send notifications for new posts
Now, every time you publish an article, users will get notified instantly.
Step 6: Customize Your Notification Style
To improve CTR, tweak:
- Title style
- Message tone
- Icon & image
- Call-to-action
Example:
“🔥 New Post: 10 Blogging Tricks You Must Try Today!”
Step 7: Test Everything
- Open your website
- Allow notifications
- Send a test push from dashboard
If it appears—you’re all set 🎉
Pro Strategies to Get More Clicks
Setting up is easy, but results depend on how you use it.
Here’s what actually works:
1. Write Curiosity-Based Headlines
Instead of:
“New Article Published”
Write:
“You’re Missing This Simple SEO Trick 😮”
2. Don’t Spam Users
- 1–2 notifications per day is enough
- Too many = users unsubscribe
3. Use Timing Smartly
Best times (India audience):
- Morning: 9–11 AM
- Evening: 6–9 PM
4. Segment Your Audience (Advanced)
Send different notifications to:
- New users
- Returning visitors
- Category-based audience
Common Mistakes Beginners Make
Avoid these if you want real results:
- Sending notifications without value
- Writing boring titles
- Ignoring mobile experience
- Not testing before sending
Is It Really Free?
Yes—tools like Metapusher offer a free setup that’s perfect for:
- New bloggers
- Niche websites
- Affiliate marketers
You can upgrade later when your traffic grows.